
This page includes many of the illustrations featured throughout the website. Most of these illustrations were created using CorelDraw.
Space Graphics
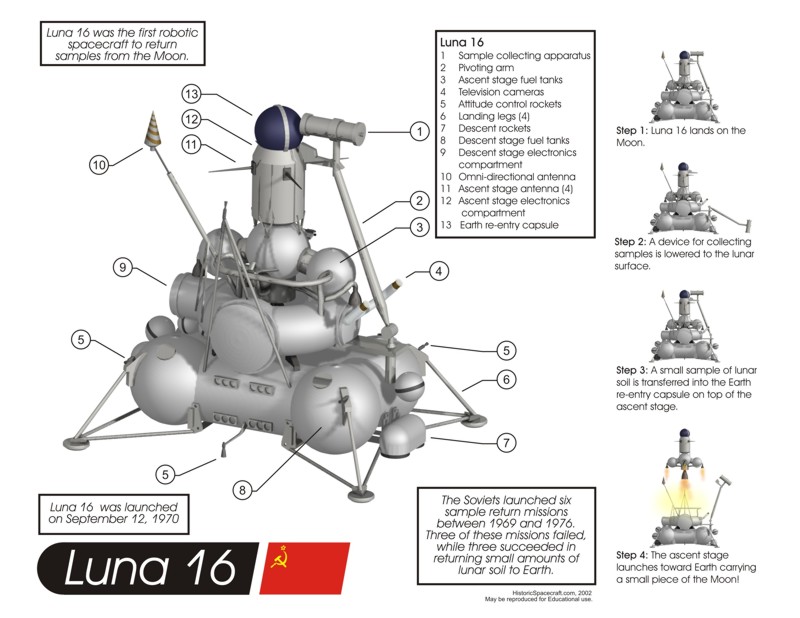
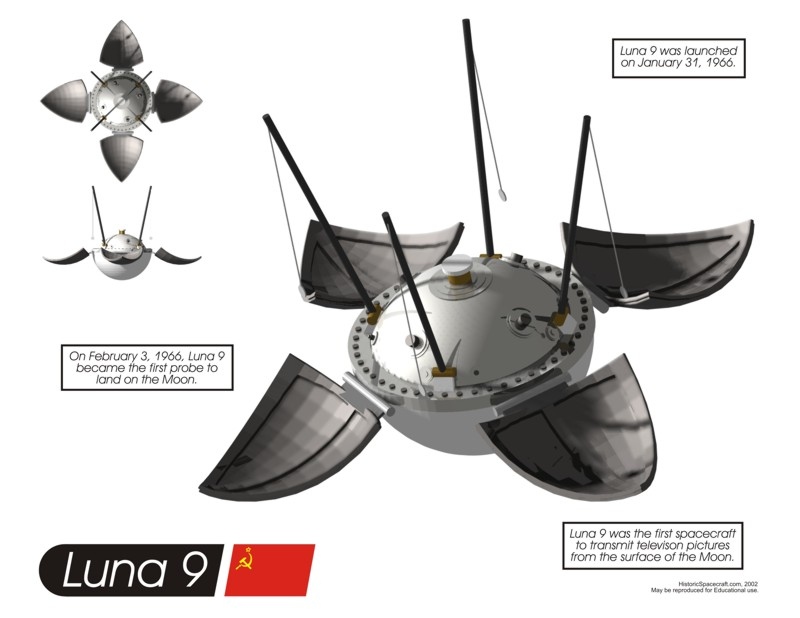
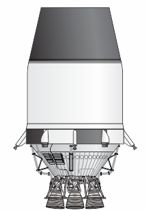
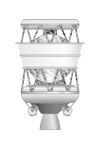
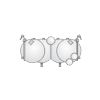
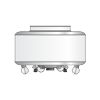
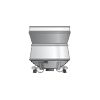
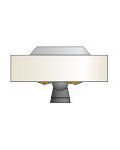
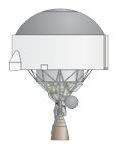
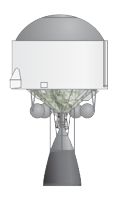
Space Probes
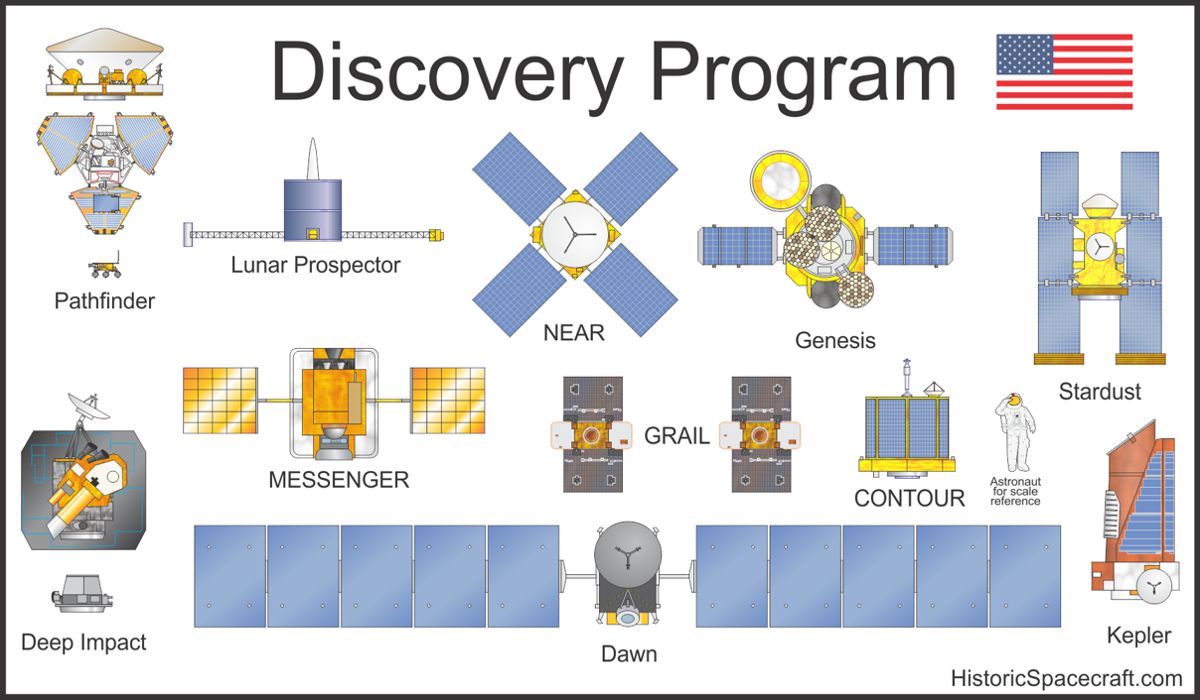
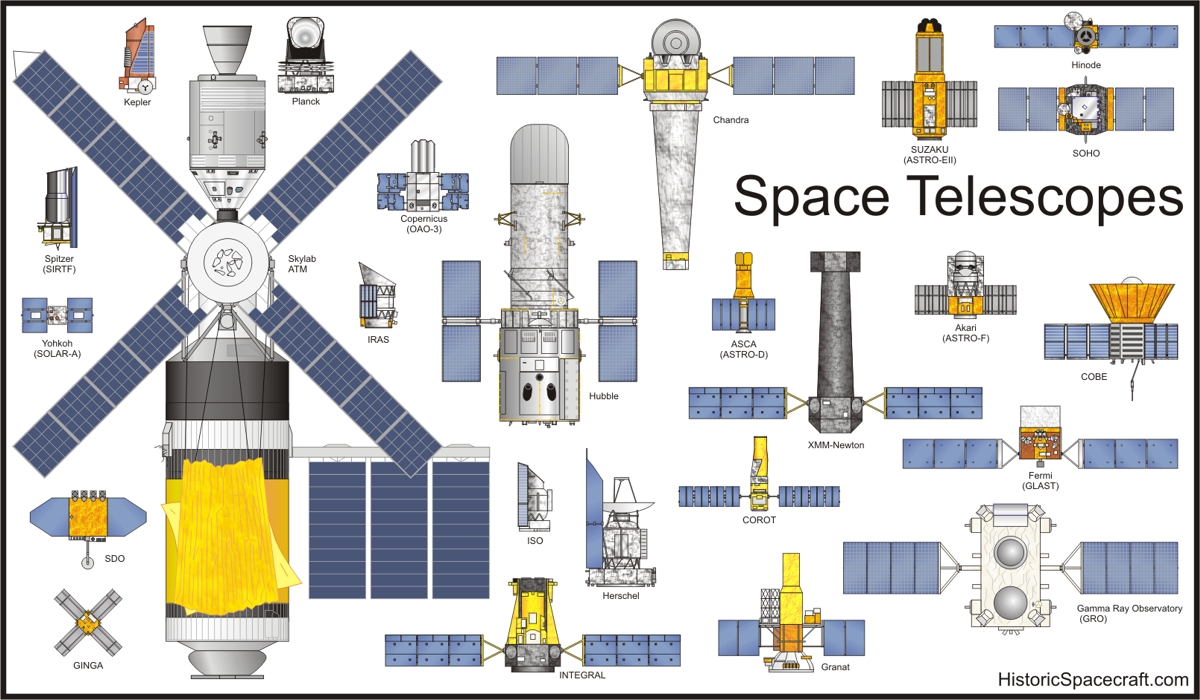

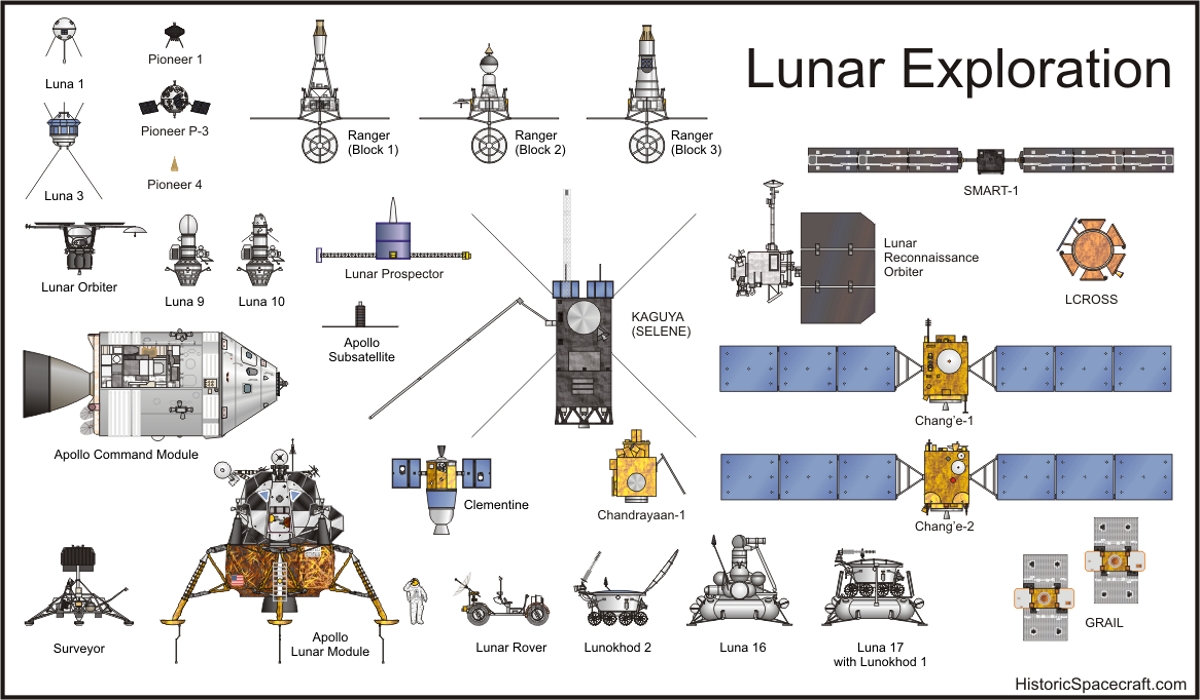
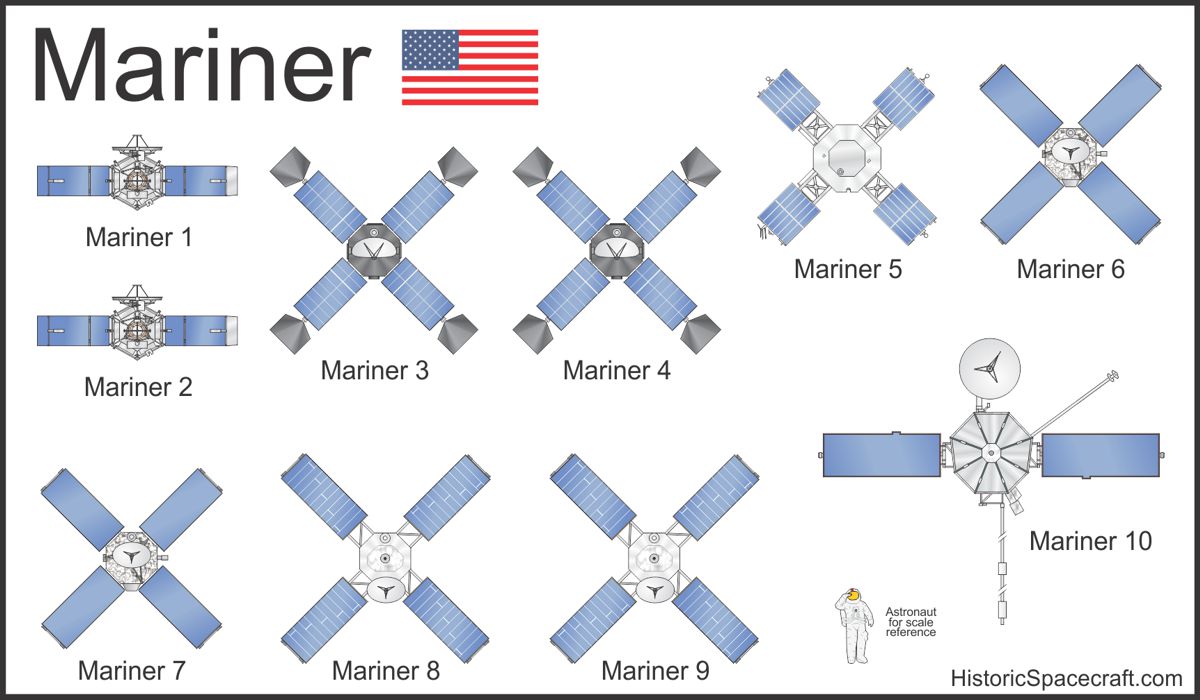
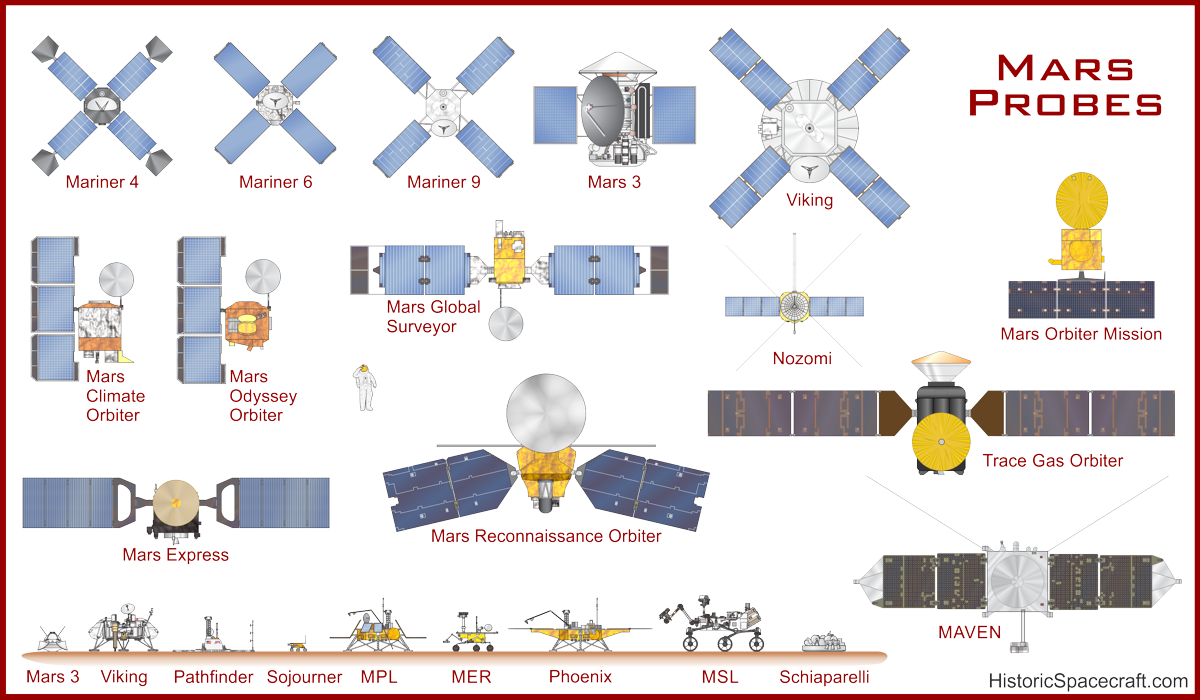

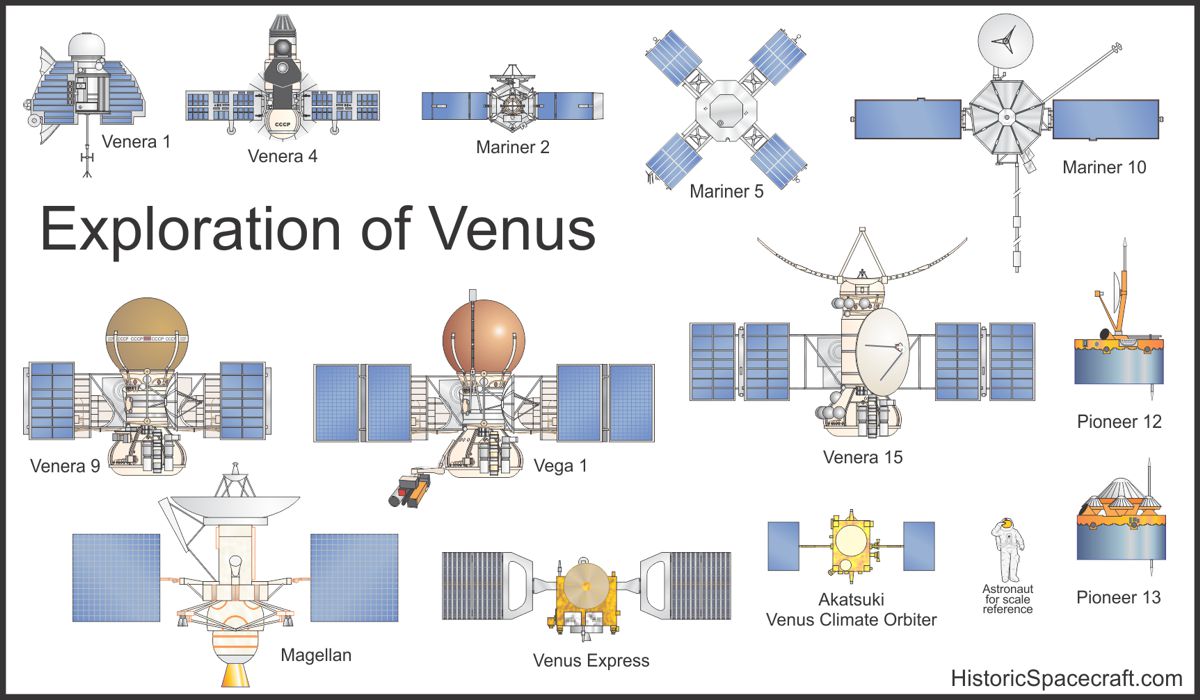
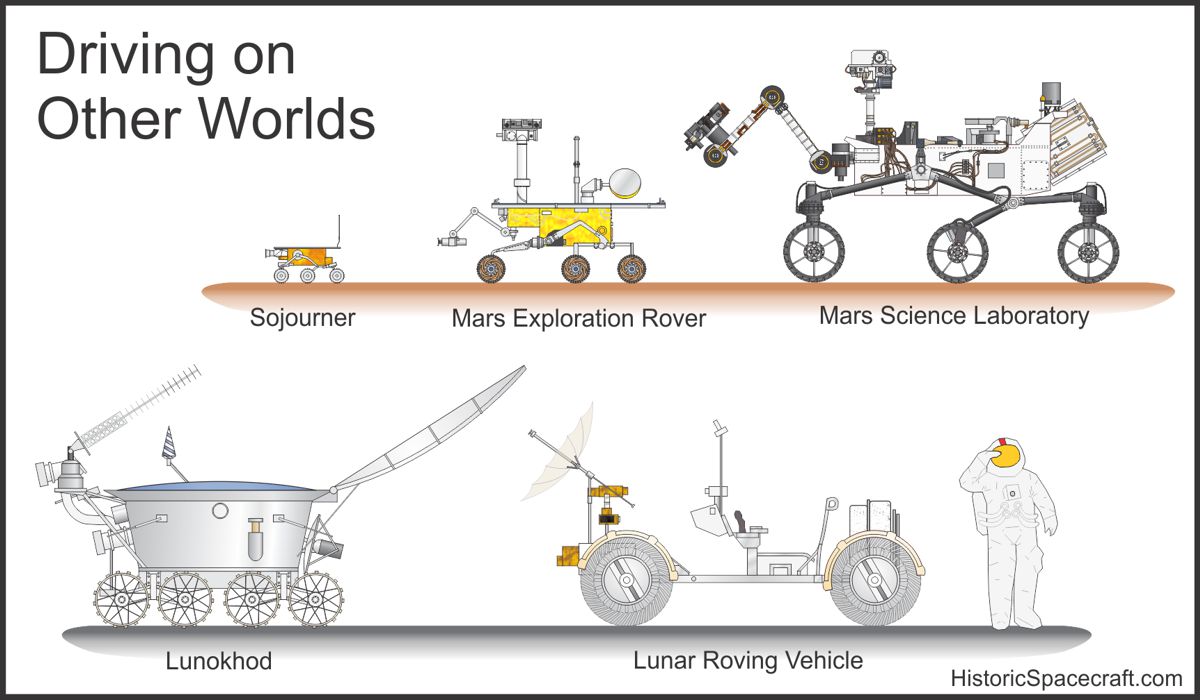
Space Probes
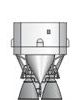
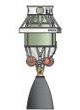
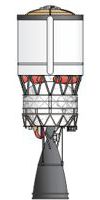
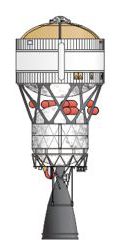
Space probe diagrams using a series of renders I created in the 1990's using TurboCad.


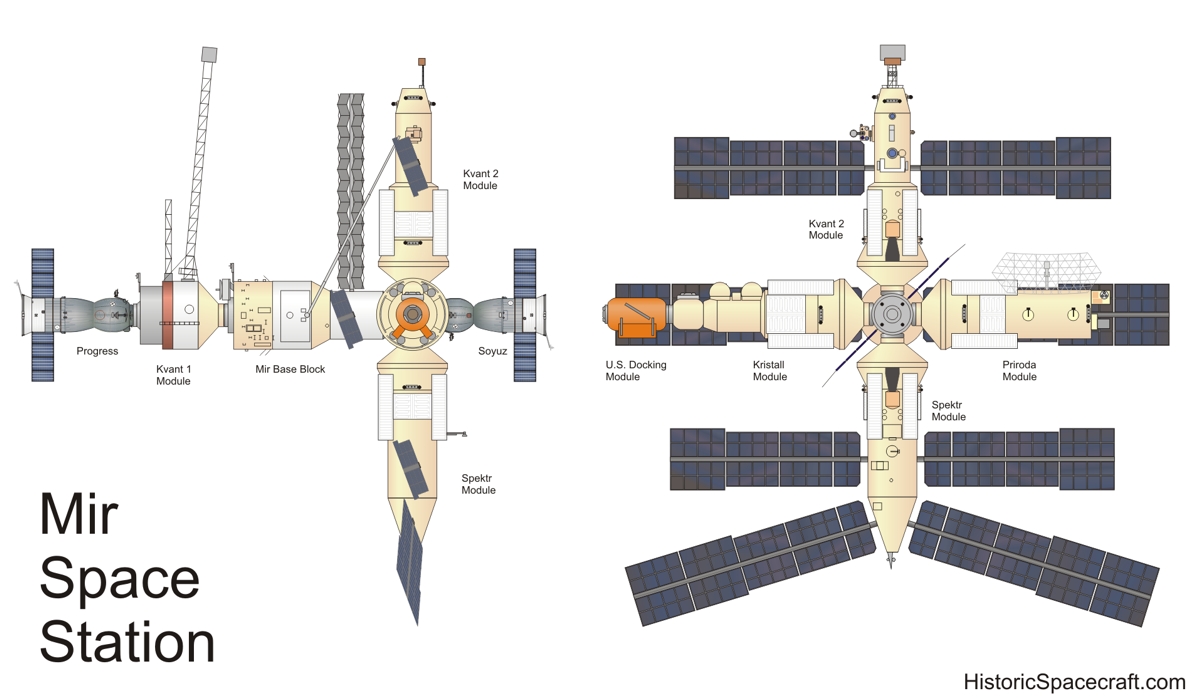
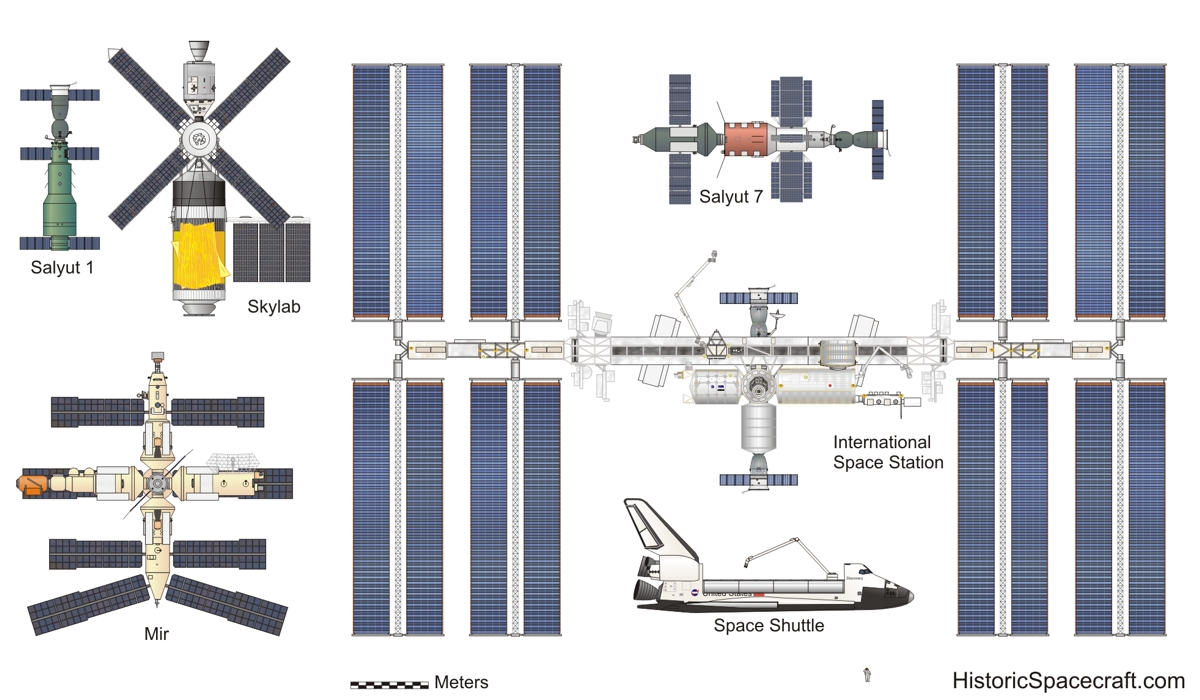
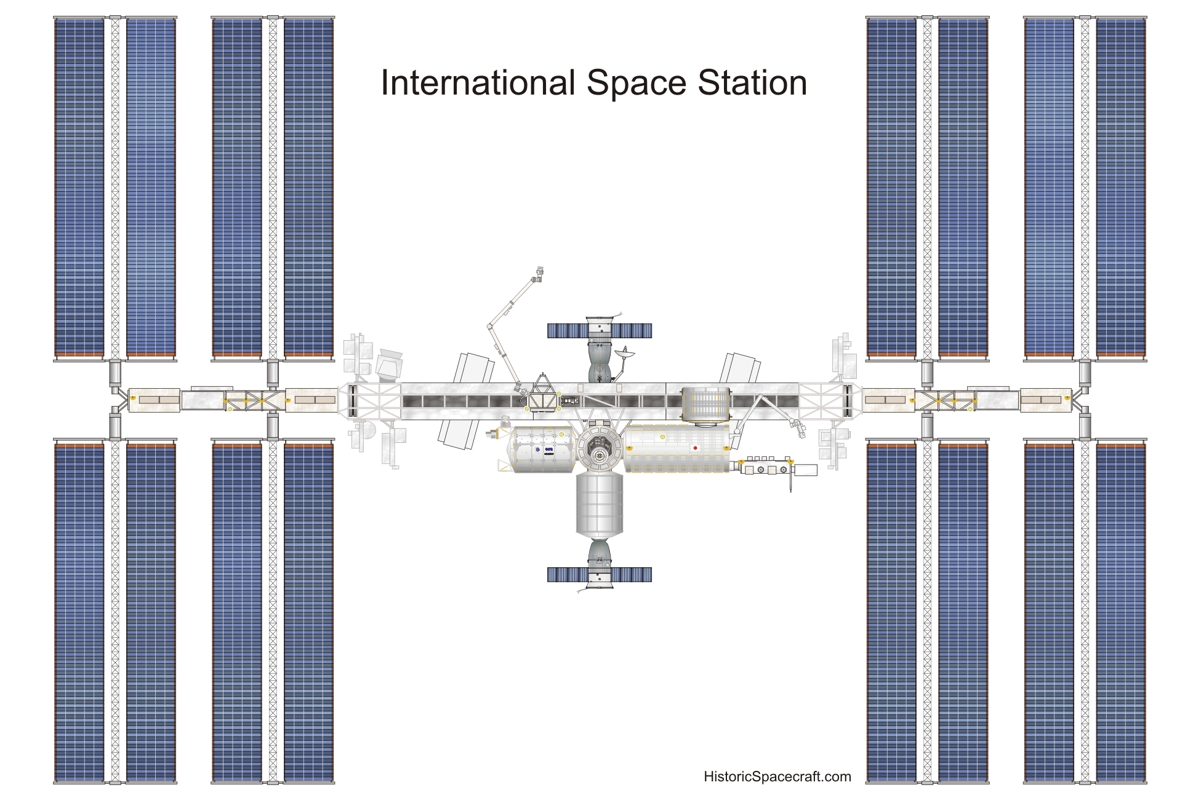
Space Stations


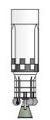
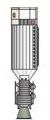
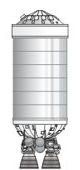
Upper Stages

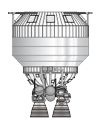
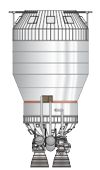
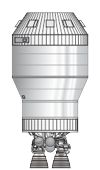
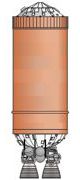
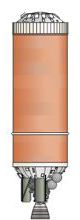
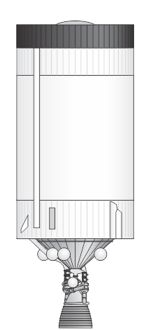
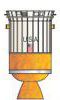


Rockets
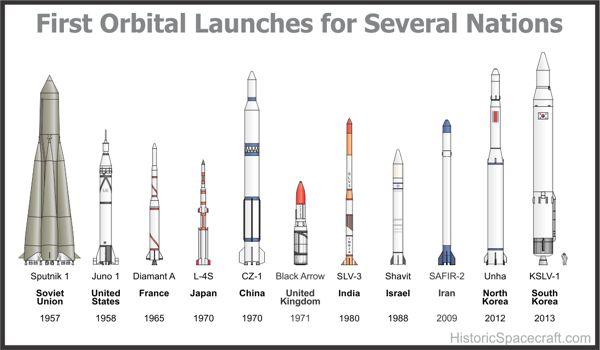
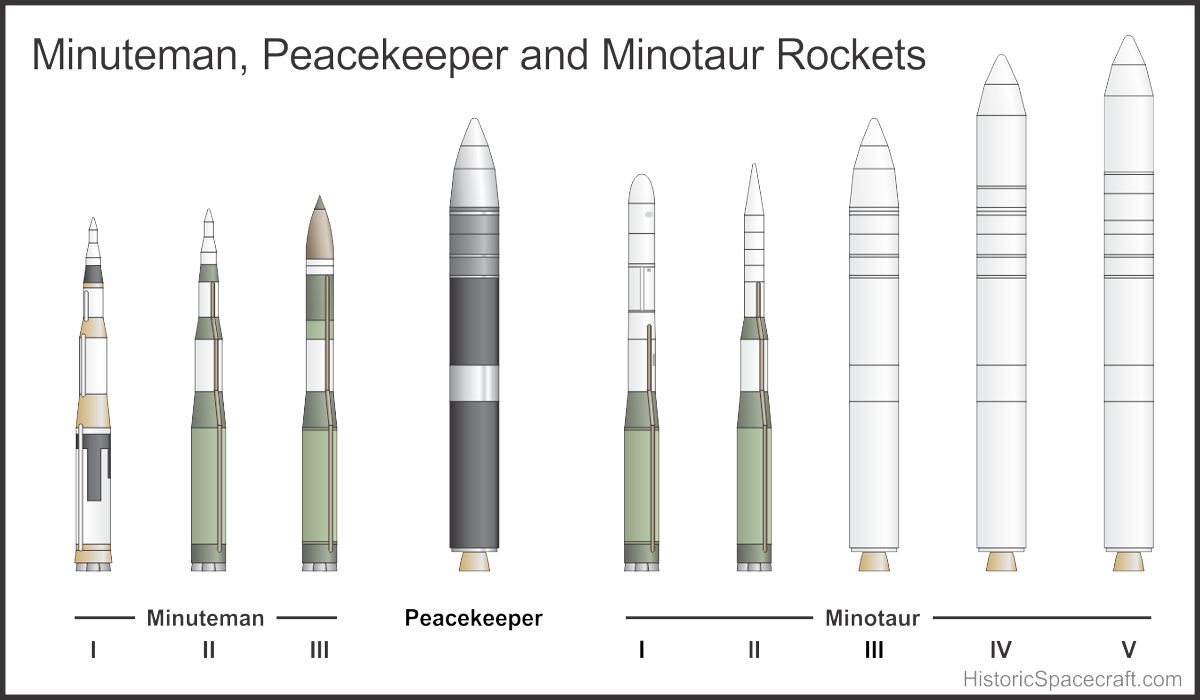
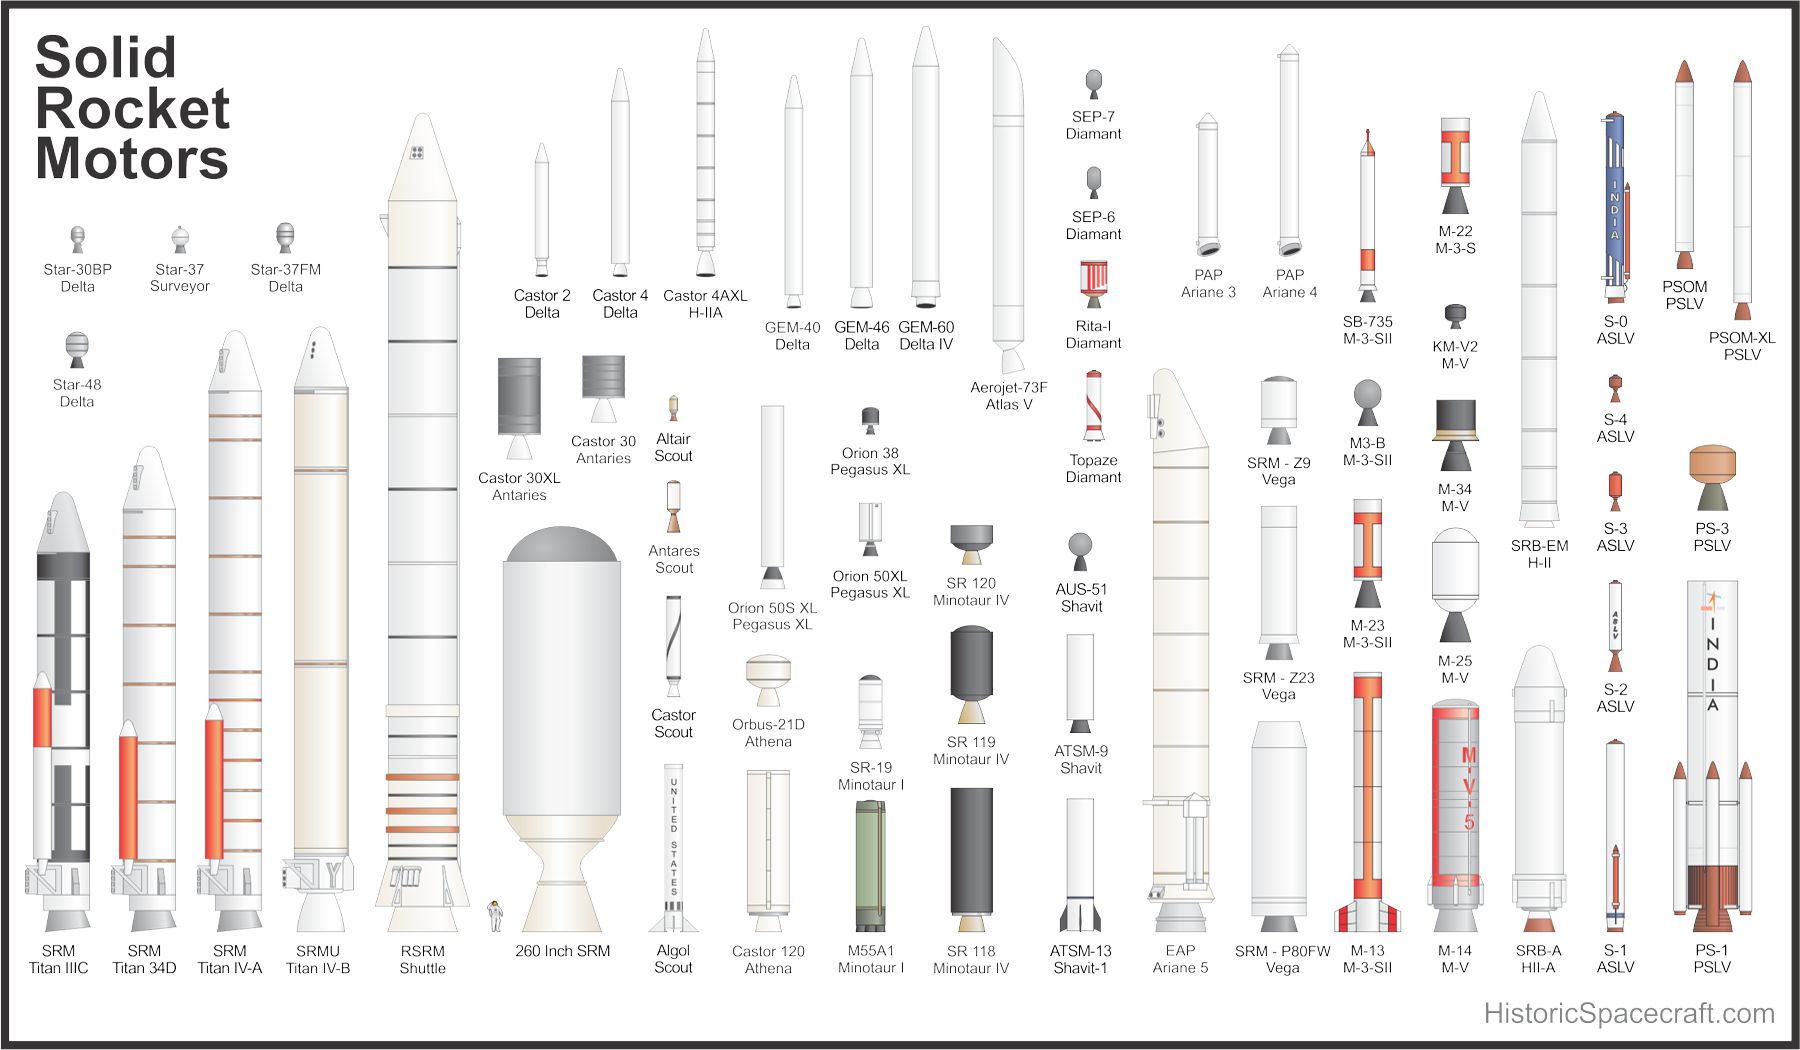

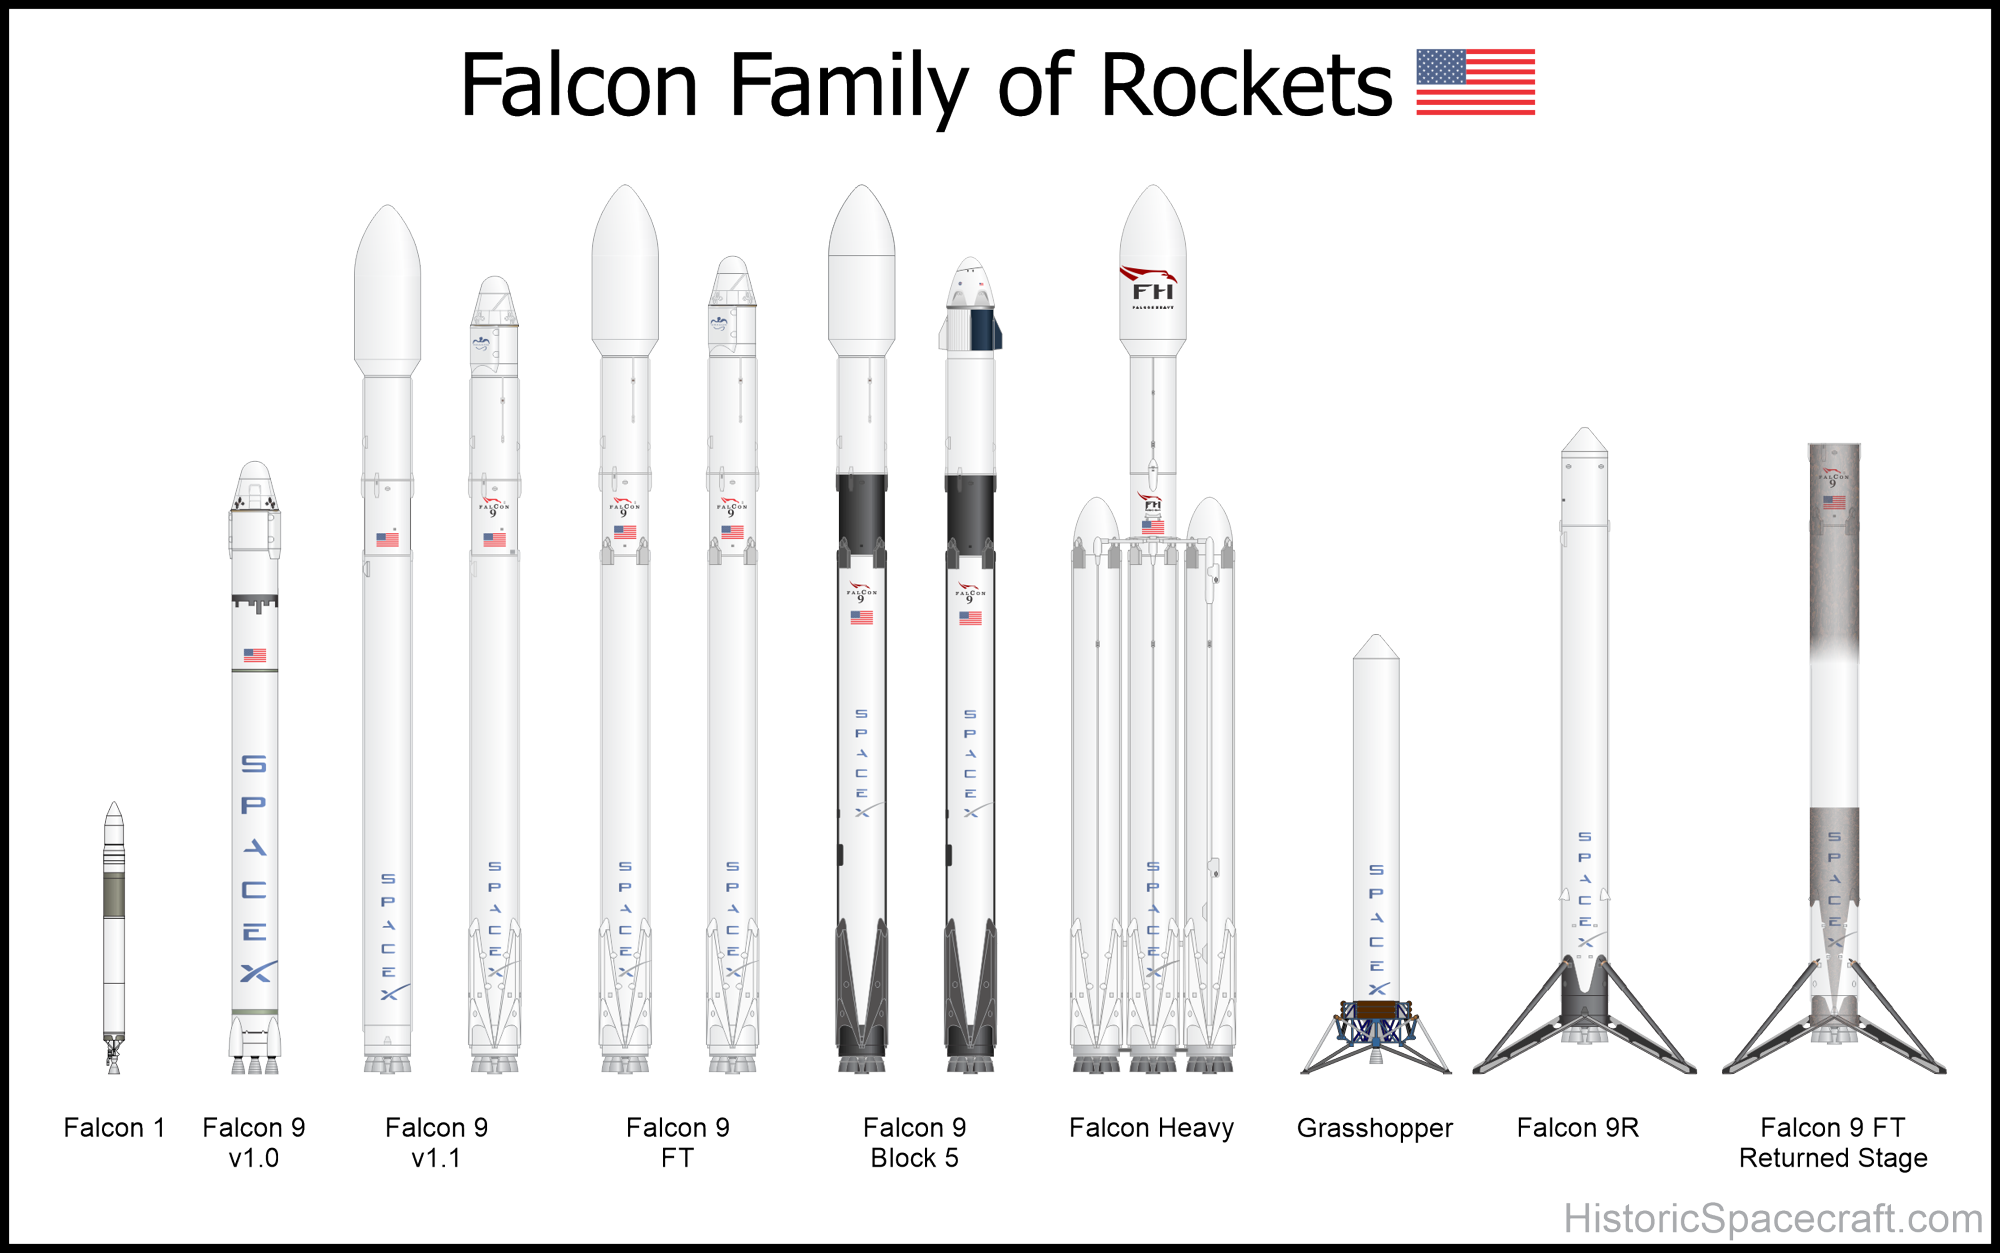
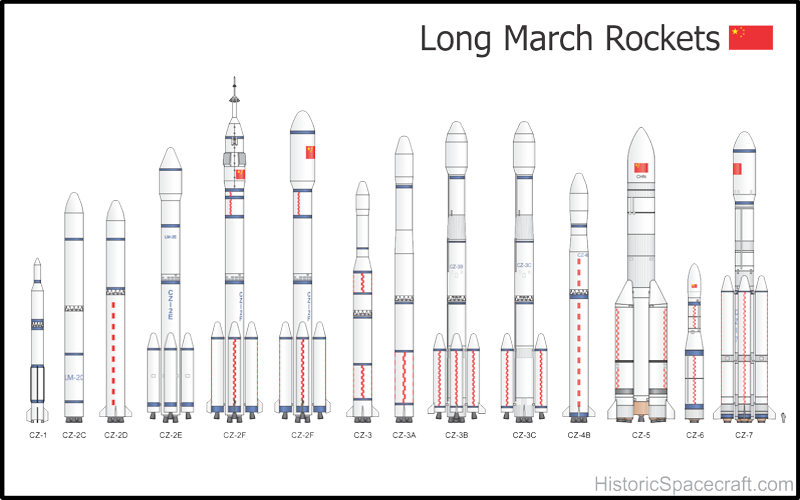

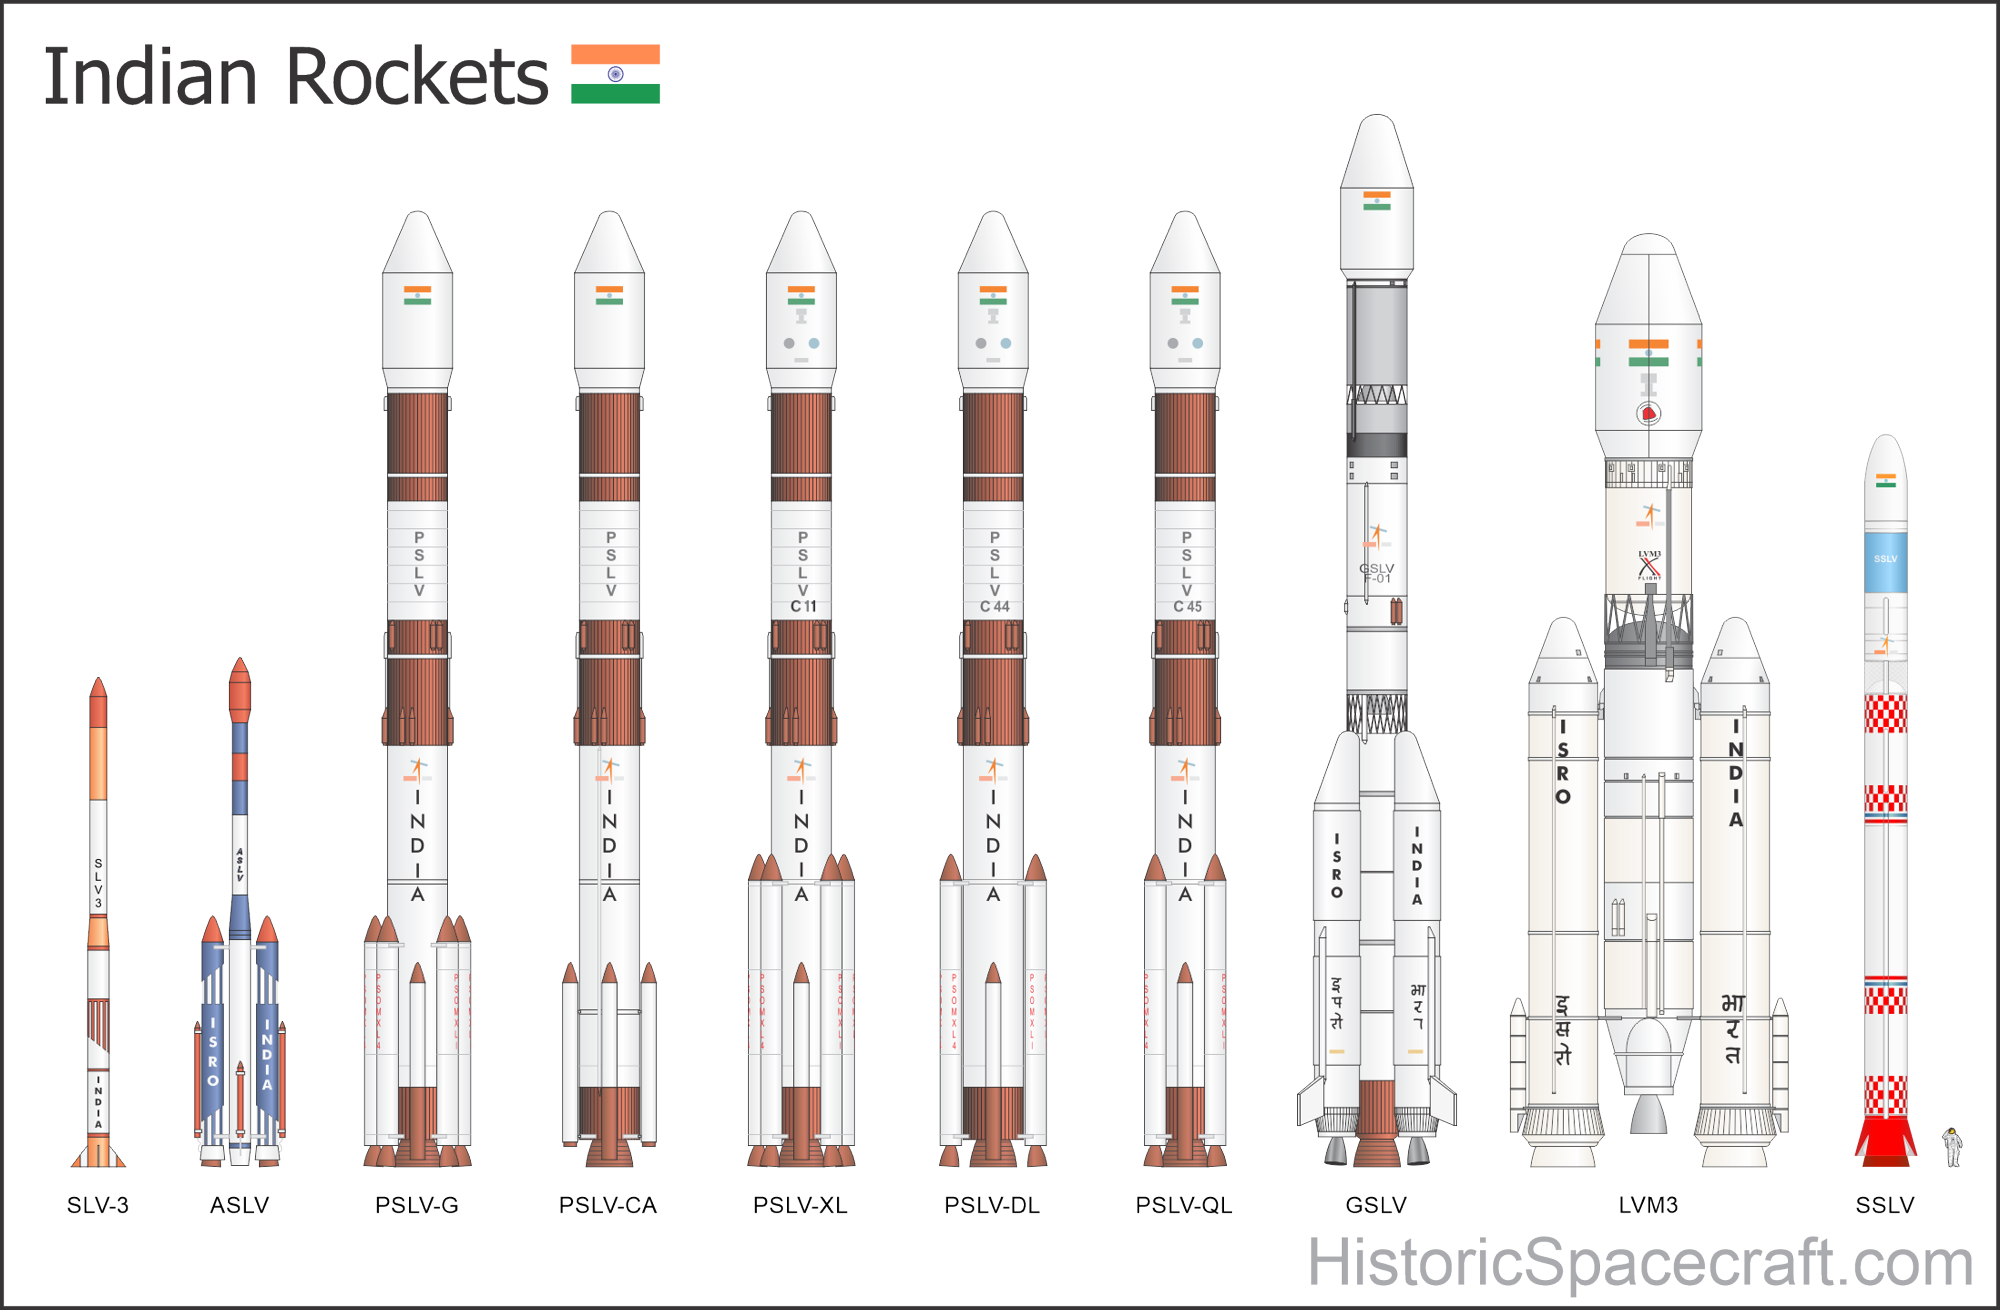
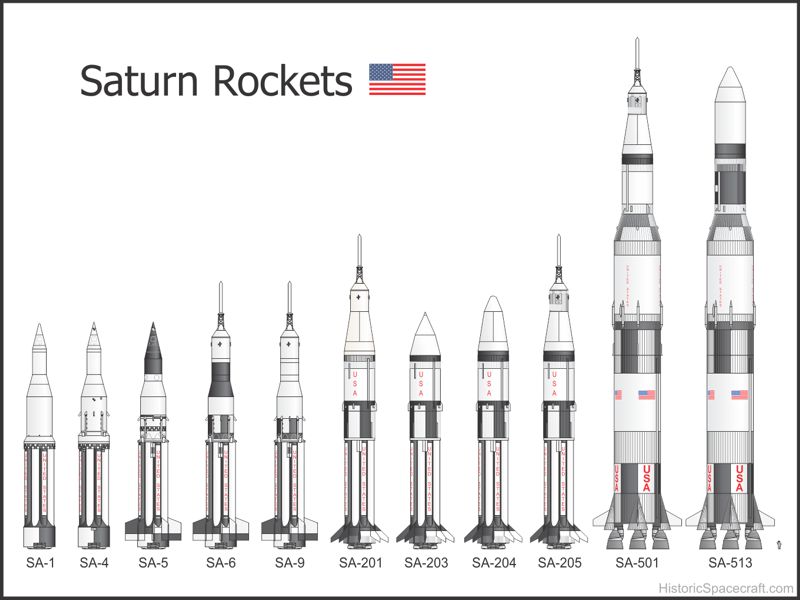
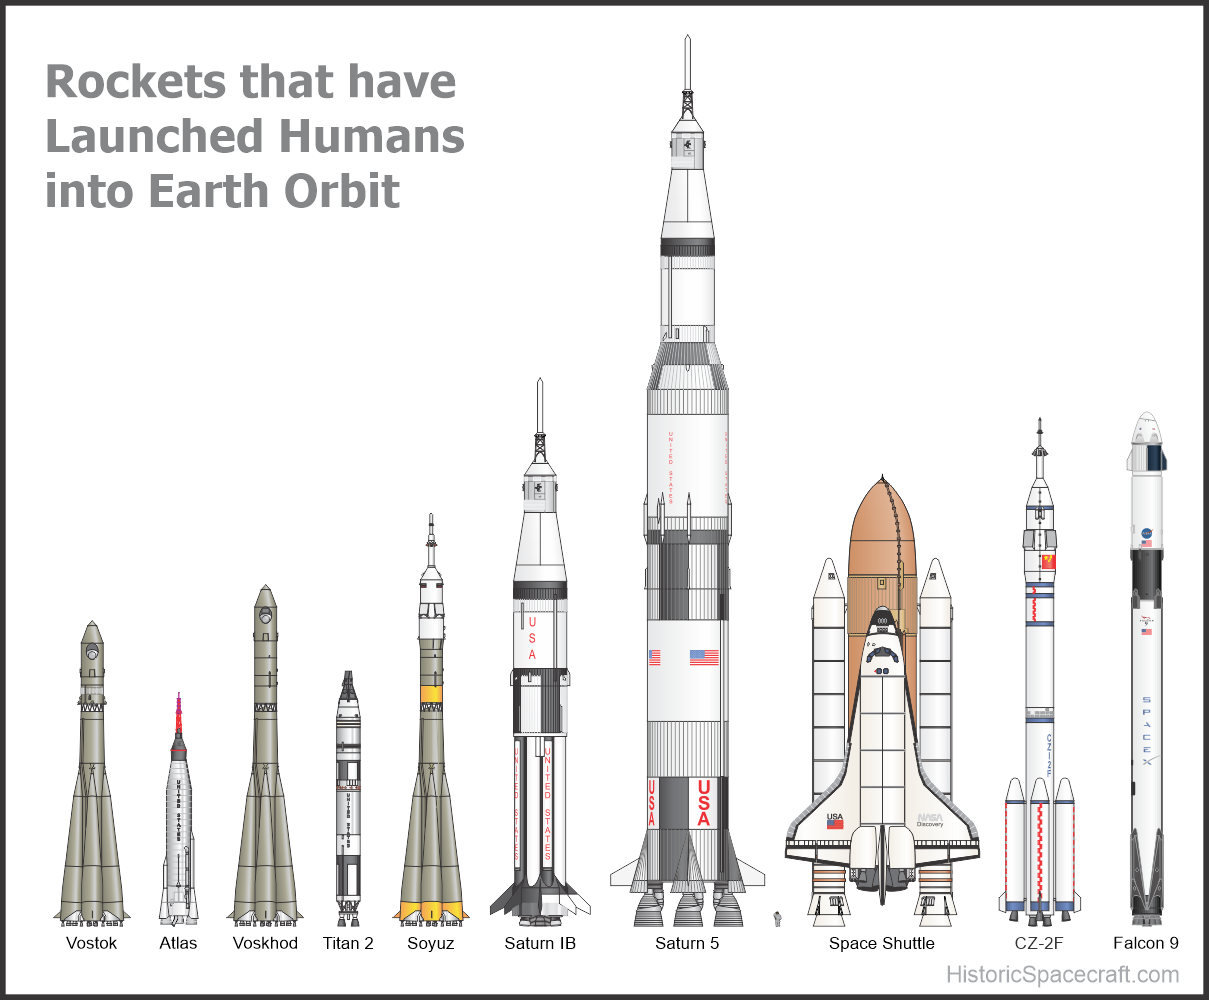


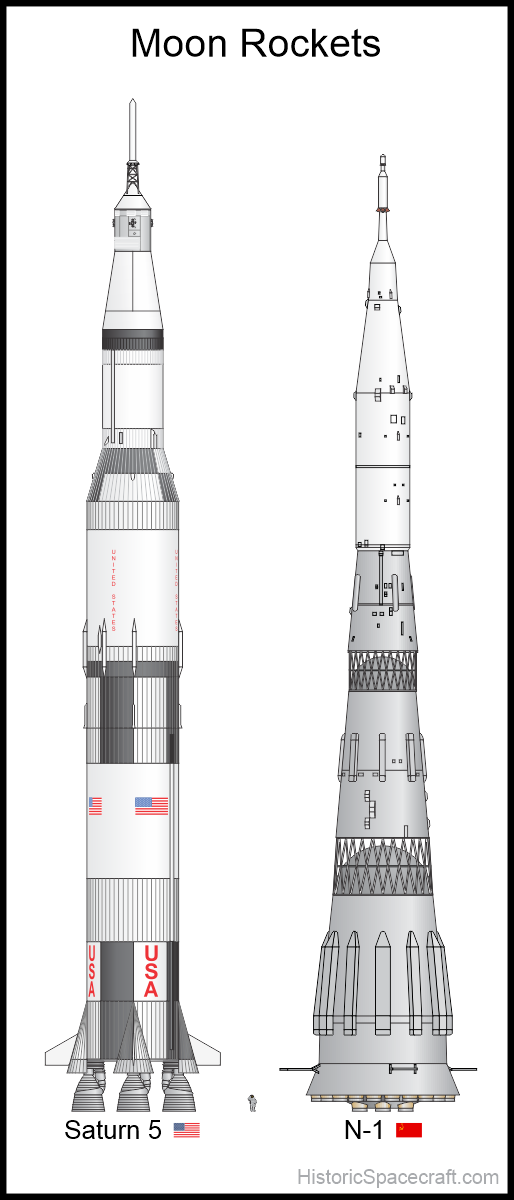
Image and Illustration Use Policy
Images and illustrations found on HistoricSpacecraft.com, credited to Richard Kruse, may be used by third parties for educational or other non-commercial purposes as long as a link is provided back to HistoricSpacecraft.com, or to the sub-page of historicspacecraft.com where the image or illustration was found.
Reproduction for commercial purposes requires prior approval (Almost always granted!). Email Richard for commercial usage requests.
NOTE: To conserve bandwith, I downsample almost all images uploaded to Historic Spacecraft. Higher resolution images will be available for publication purposes.
 Images by Richard Kruse are licensed under a Creative Commons Attribution-Noncommercial 3.0 United States License.